Valid email address
Credit card (Visa, Mastercard, or American Express)
Phone number for verification
Microsoft account (or ability to create one)
Visit the Azure website (https://azure.microsoft.com/)
Click on the "Start free" or "Create a free account" button
Sign in with your existing Microsoft account or create a new one
Fill in your personal information, including:
Country/Region
First and last name
Email address
Phone number
Verify your identity using your phone number:
Choose either "Text me" or "Call me"
Enter the verification code you receive
Provide payment information:
Enter your credit or debit card details (prepaid cards are not accepted)
This is for identity verification; you won't be charged unless you upgrade
Agree to the terms and conditions and click "Sign up
Navigate to https://portal.azure.com/
Sign in with your Azure account credentials
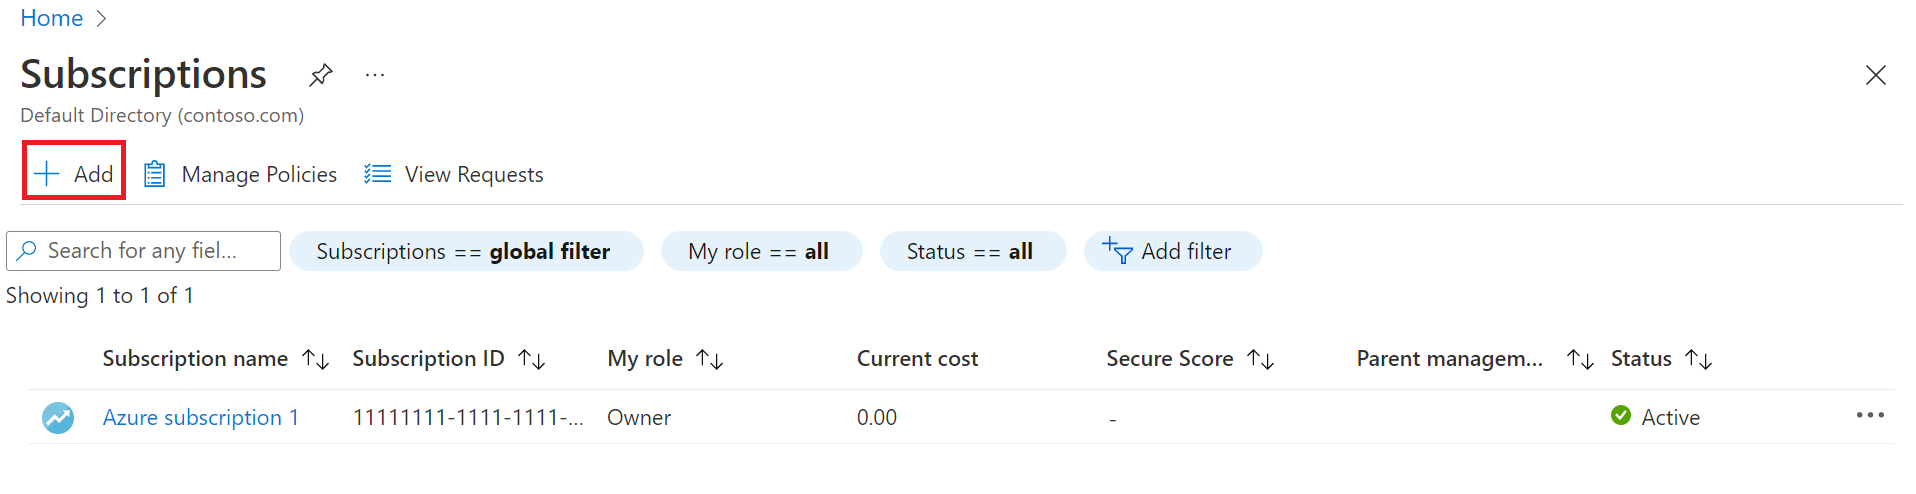
Navigate to Subscriptions and then select Add.
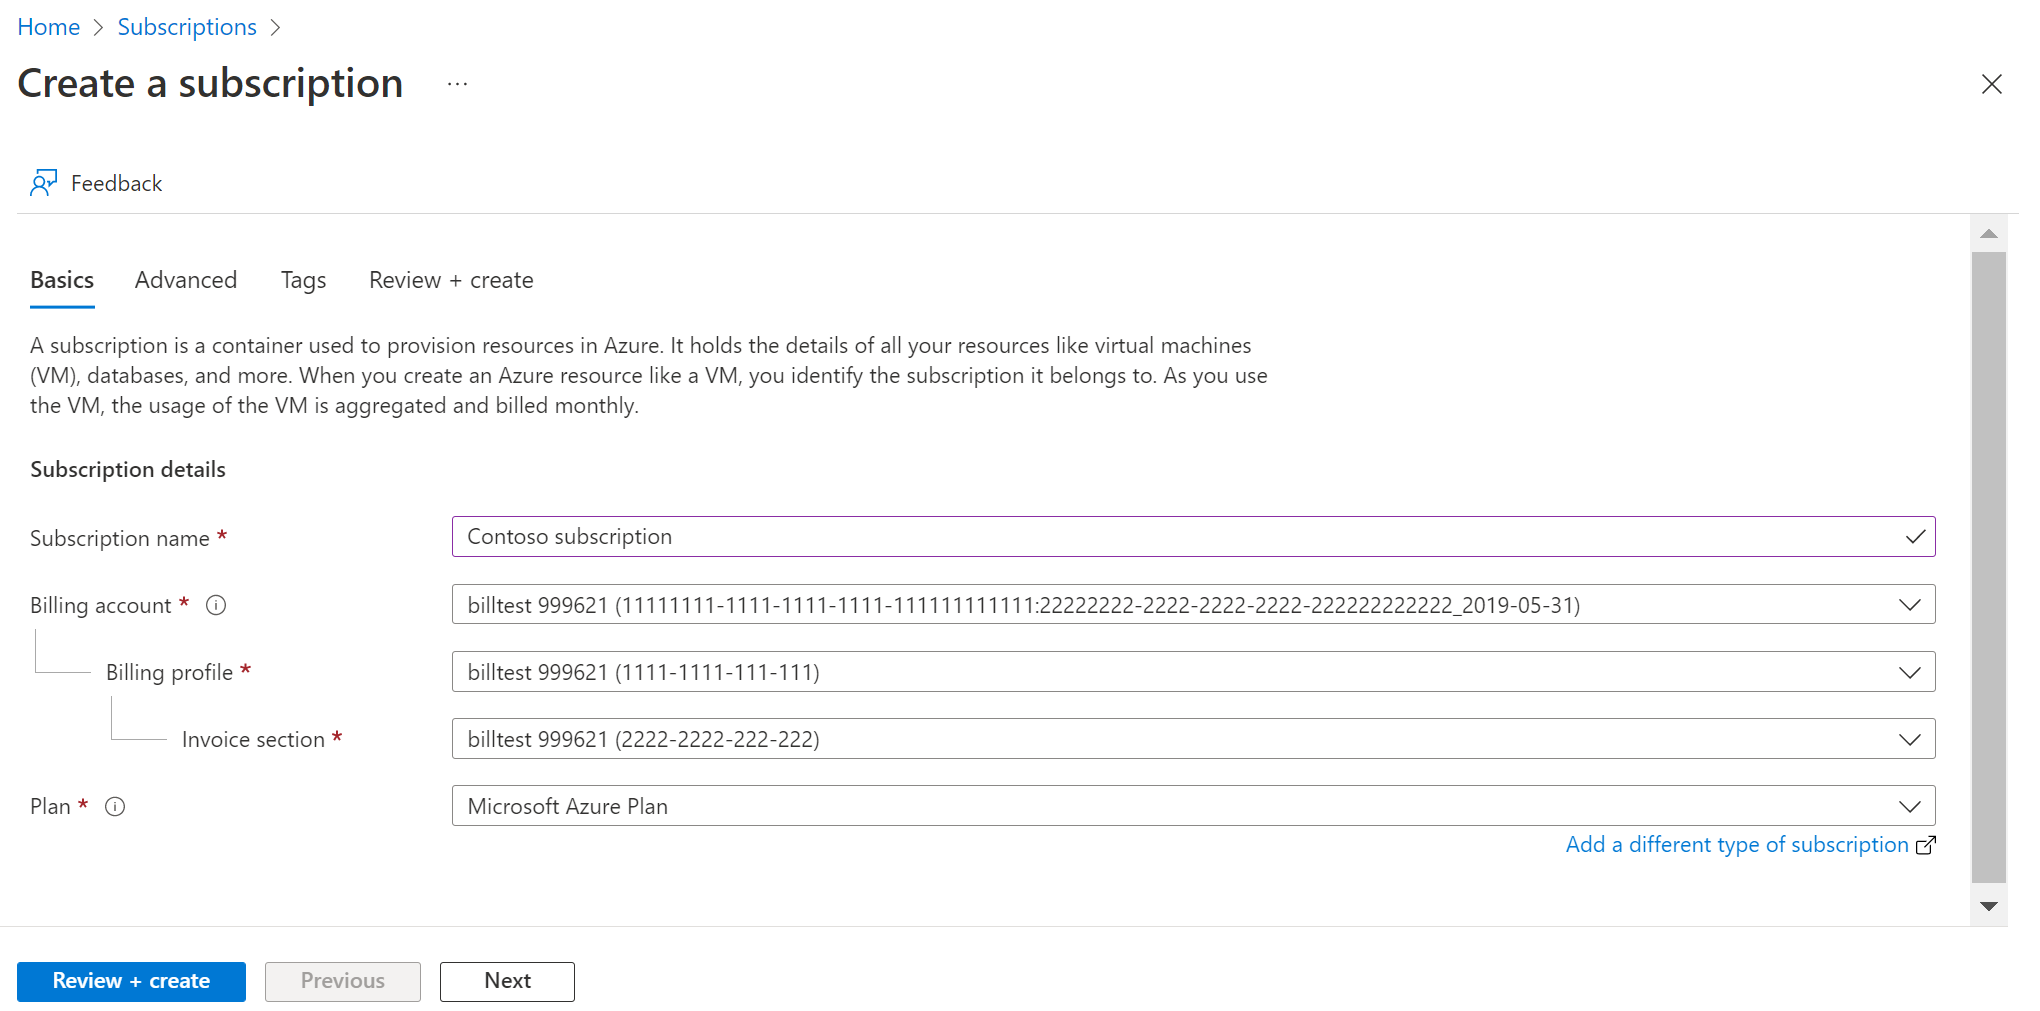
On the Create a subscription page, on the Basics tab, type a Subscription name.
Select the Billing account where the new subscription gets created.
Select the Billing profile where the subscription gets created.
Select the Invoice section where the subscription gets created.
Next to Plan, select Microsoft Azure Plan for DevTest if the subscription is used for development or testing workloads. Otherwise, select Microsoft Azure Plan.
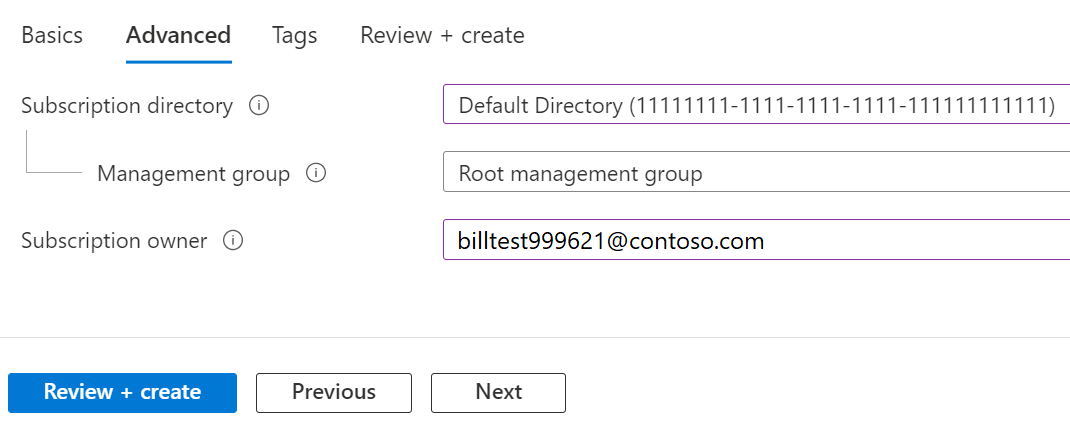
Select the Advanced tab.
Select your Subscription directory. It's the Azure Active Directory (Azure AD) where the new subscription gets created.
Select a Management group. It's the Azure AD management group that the new subscription is associated with. You can only select management groups in the current directory.
Select one or more Subscription owners. You can select only users or service principals in the selected subscription directory. You can't select guest directory users. If you select a service principal, enter its App ID.
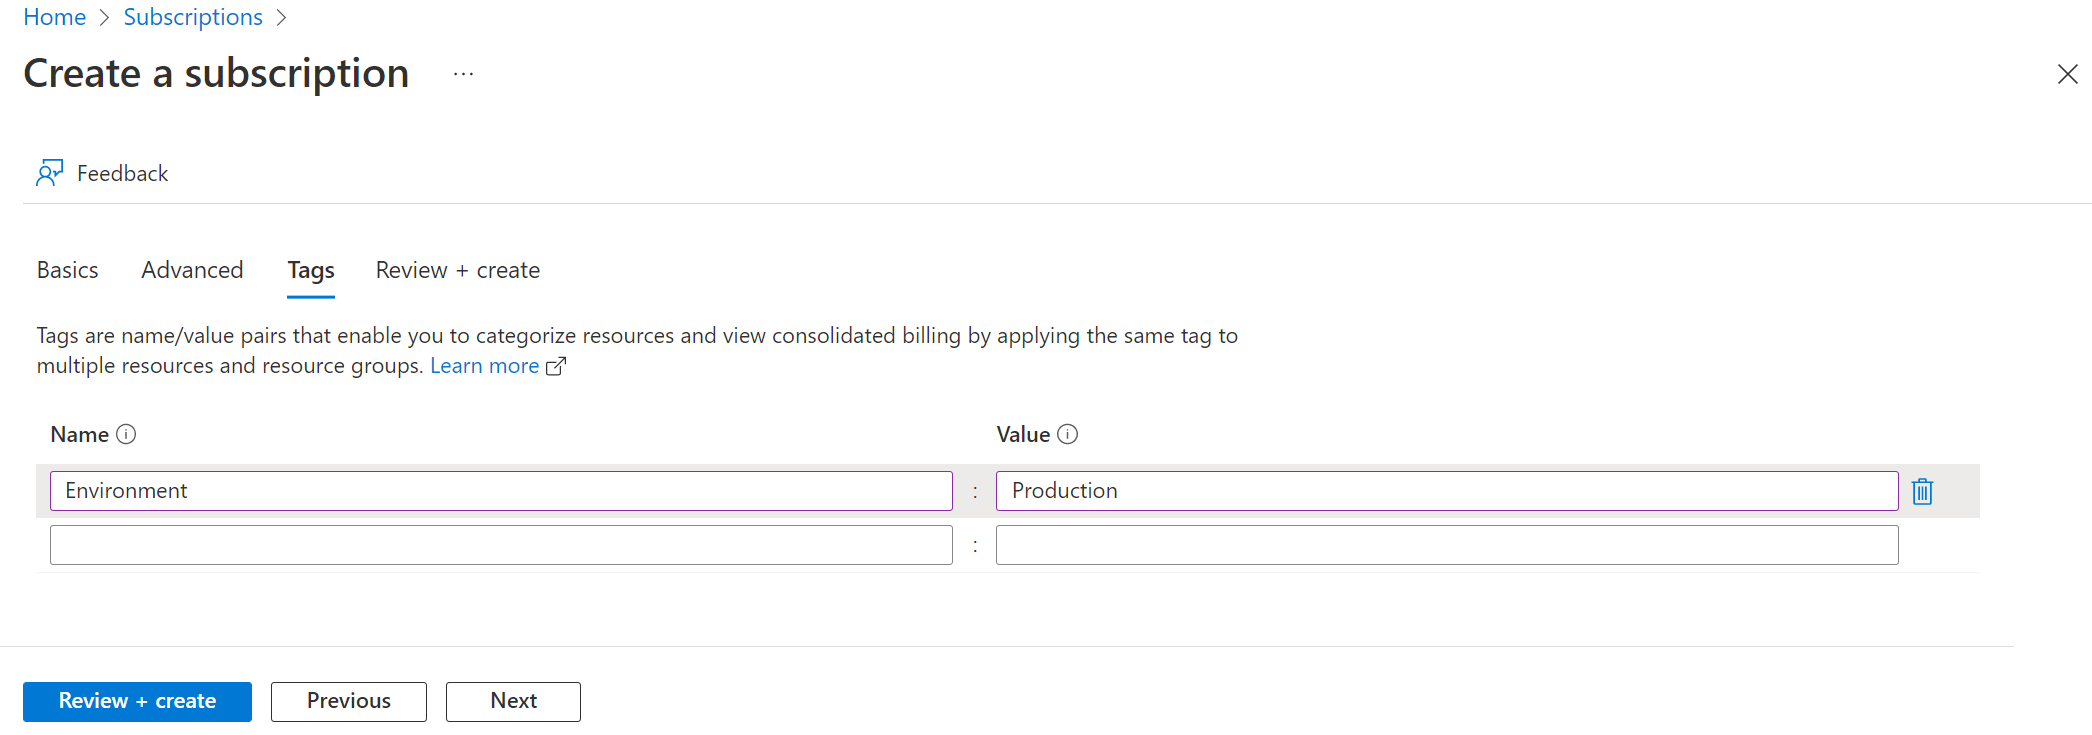
Select the Tags tab.
Enter tag pairs for Name and Value.
Select Review + create. You should see a message stating Validation passed.
Verify that the subscription information is correct, then select Create. A notification that the subscription is getting created is shown.
After the new subscription is created, the owner of the subscription can see it in on the Subscriptions page.
Note: A user with Owner or Contributor role can create an Azure subscription.
Note: Global admin can also create an Azure subscription, provided the user also has subscription level permissions like Owner or Contributor.
Reference link: Link->
For Enterprise Agreement subscription please check this link to create a subscription.
In the search box at the top, type "Azure Active Directory" and select it from the results
On the Azure Active Directory overview page, click on "+ Create a tenant" in the top menu
Choose "Azure Active Directory" as the tenant type
In the Configuration pane, fill in the following details:
Organization name: Enter your company or organization name
Initial domain name: Choose a unique domain name (it will be yourdomain.onmicrosoft.com)
Country/Region: Select your location
Click "Review + create", then "Create" after reviewing the information
Once created, switch to the new directory by clicking on your account icon in the top right corner and selecting "Switch directory"
In your new Azure AD tenant, you can start adding users:
Go to "Users" in the left menu
Click "+ New user"
Fill in the user details and assign appropriate roles
To create groups:
Go to "Groups" in the left menu
Click "+ New group"
Provide a group name and description
Add members to the group
Configure security settings:
Enable multi-factor authentication for users
Set up conditional access policies
Consider integrating with on-premises Active Directory if needed, using Azure AD Connect
Reference Link - > Link
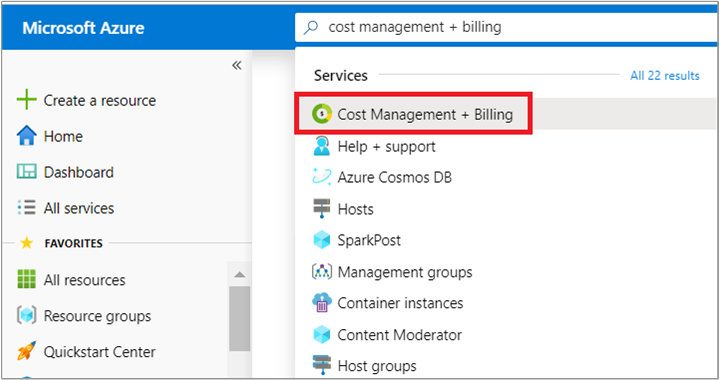
Sign in to the Azure portal.
Search for Cost Management + Billing.
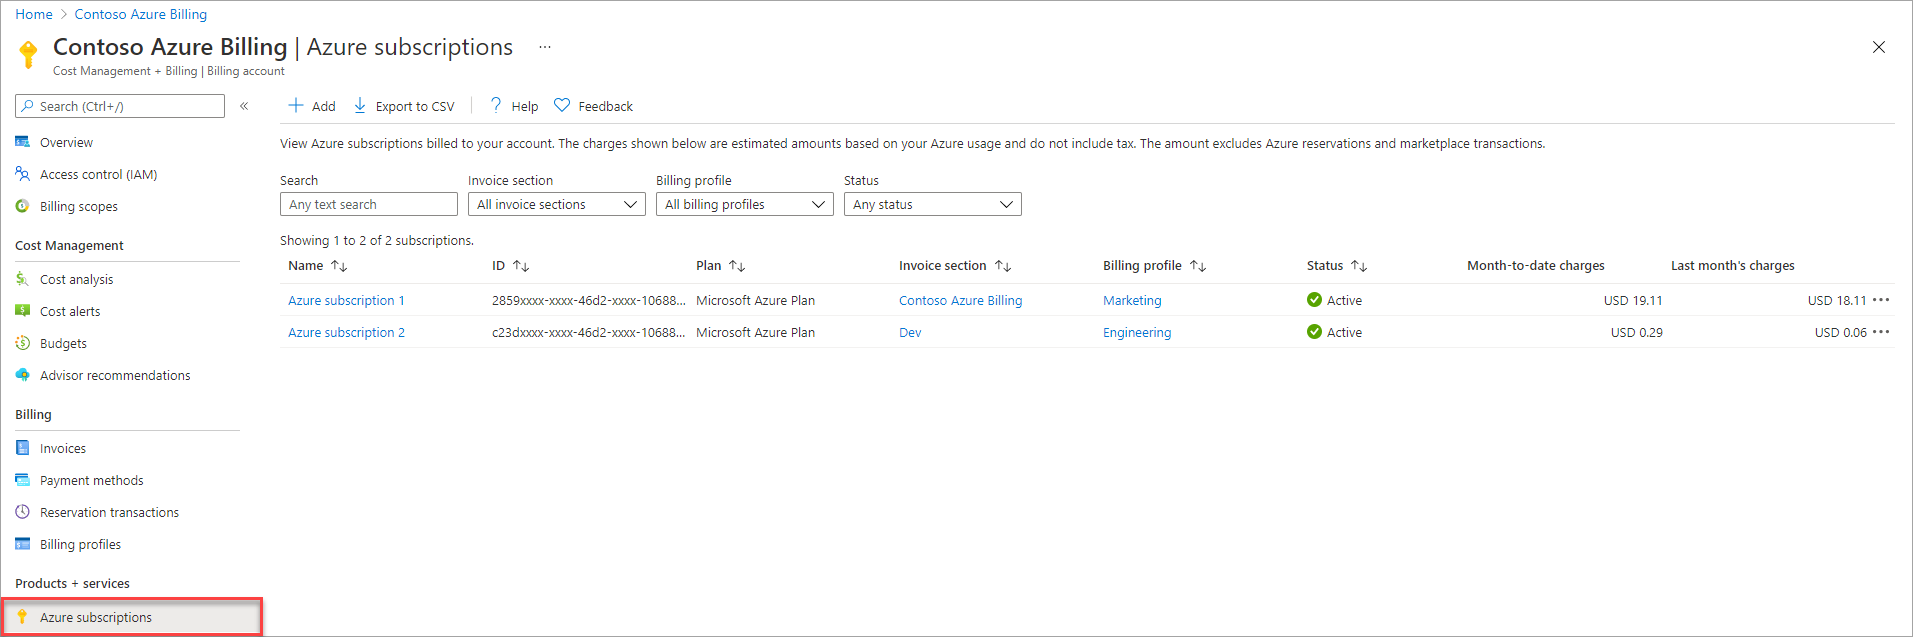
Select Azure subscriptions from the left-side of the screen.
The table lists Azure subscriptions that you're paying for. In the billing profile column, you would find the billing profile that is billed for the subscription. The subscription charges are displayed on the invoice for the billing profile. To consolidate the charges for all your subscriptions on a single invoice, you need to link all your subscriptions to a single billing profile.
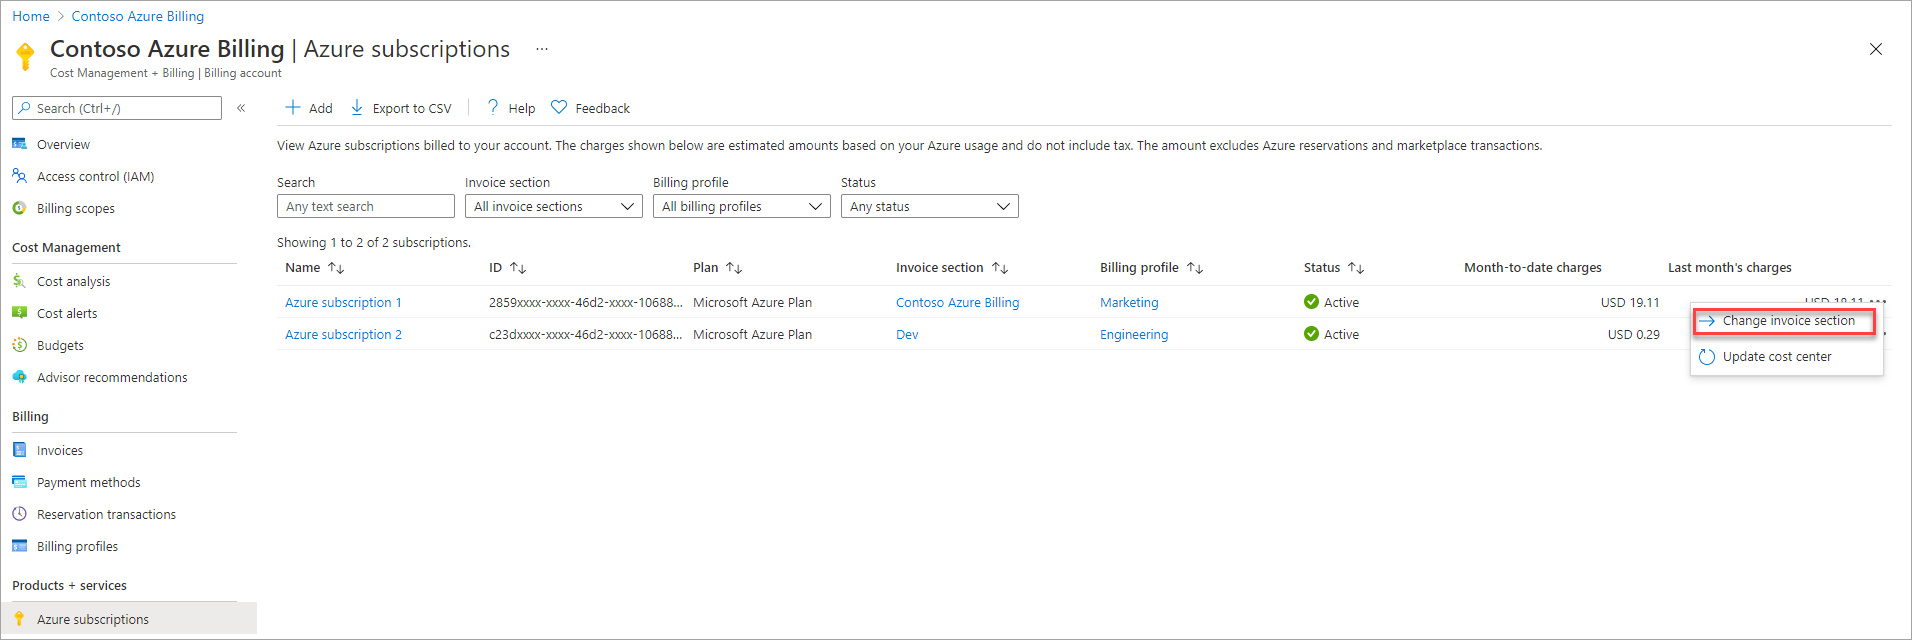
Pick a billing profile that you want to use.
Select a subscription that is not linked to the billing profile that you chose in step 5. Select the ellipsis (three dots) for the subscription. Select Change invoice section.
Select the billing profile that you chose in step #5.
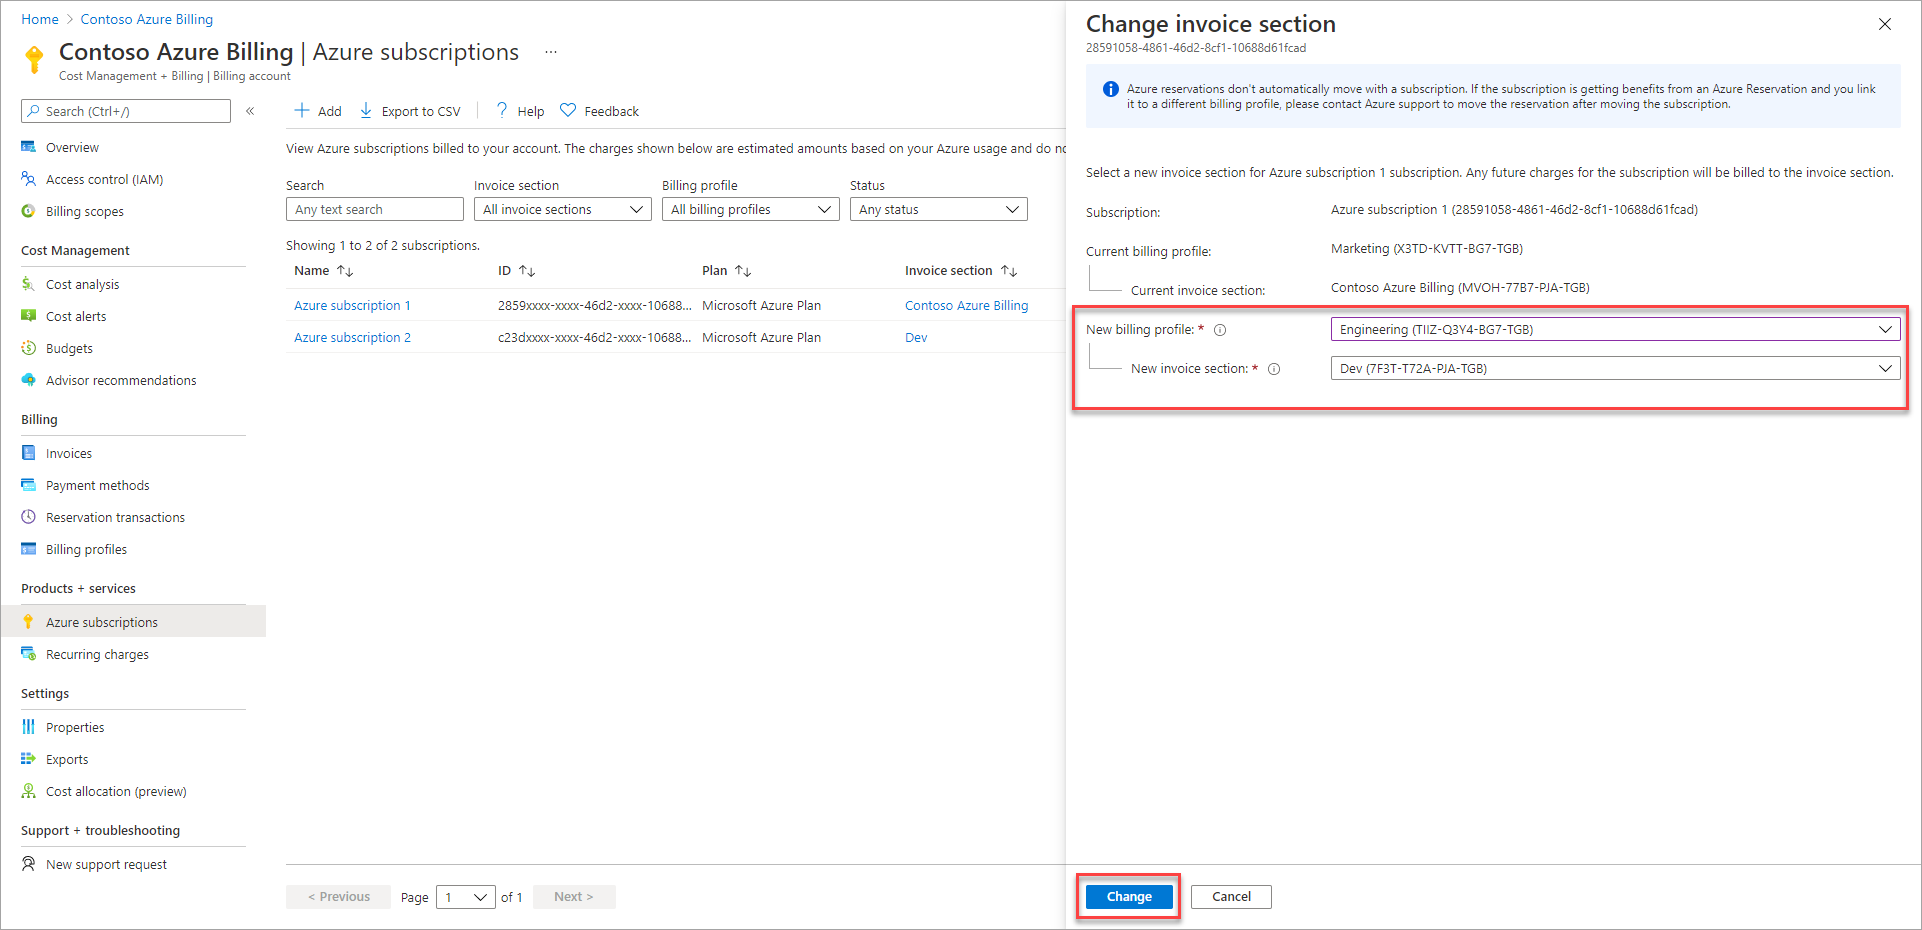
Select Change.
Repeat steps 6-8 for all other subscriptions.
Official Microsoft Support Channels
Azure Support Portal: Submit online support tickets @ https://azure.microsoft.com/en-us/support/
Phone Support: Available in multiple countries and languages
Twitter: @AzureSupport for quick assistance
Community Forums: Microsoft Q&A and Stack Overflow
